
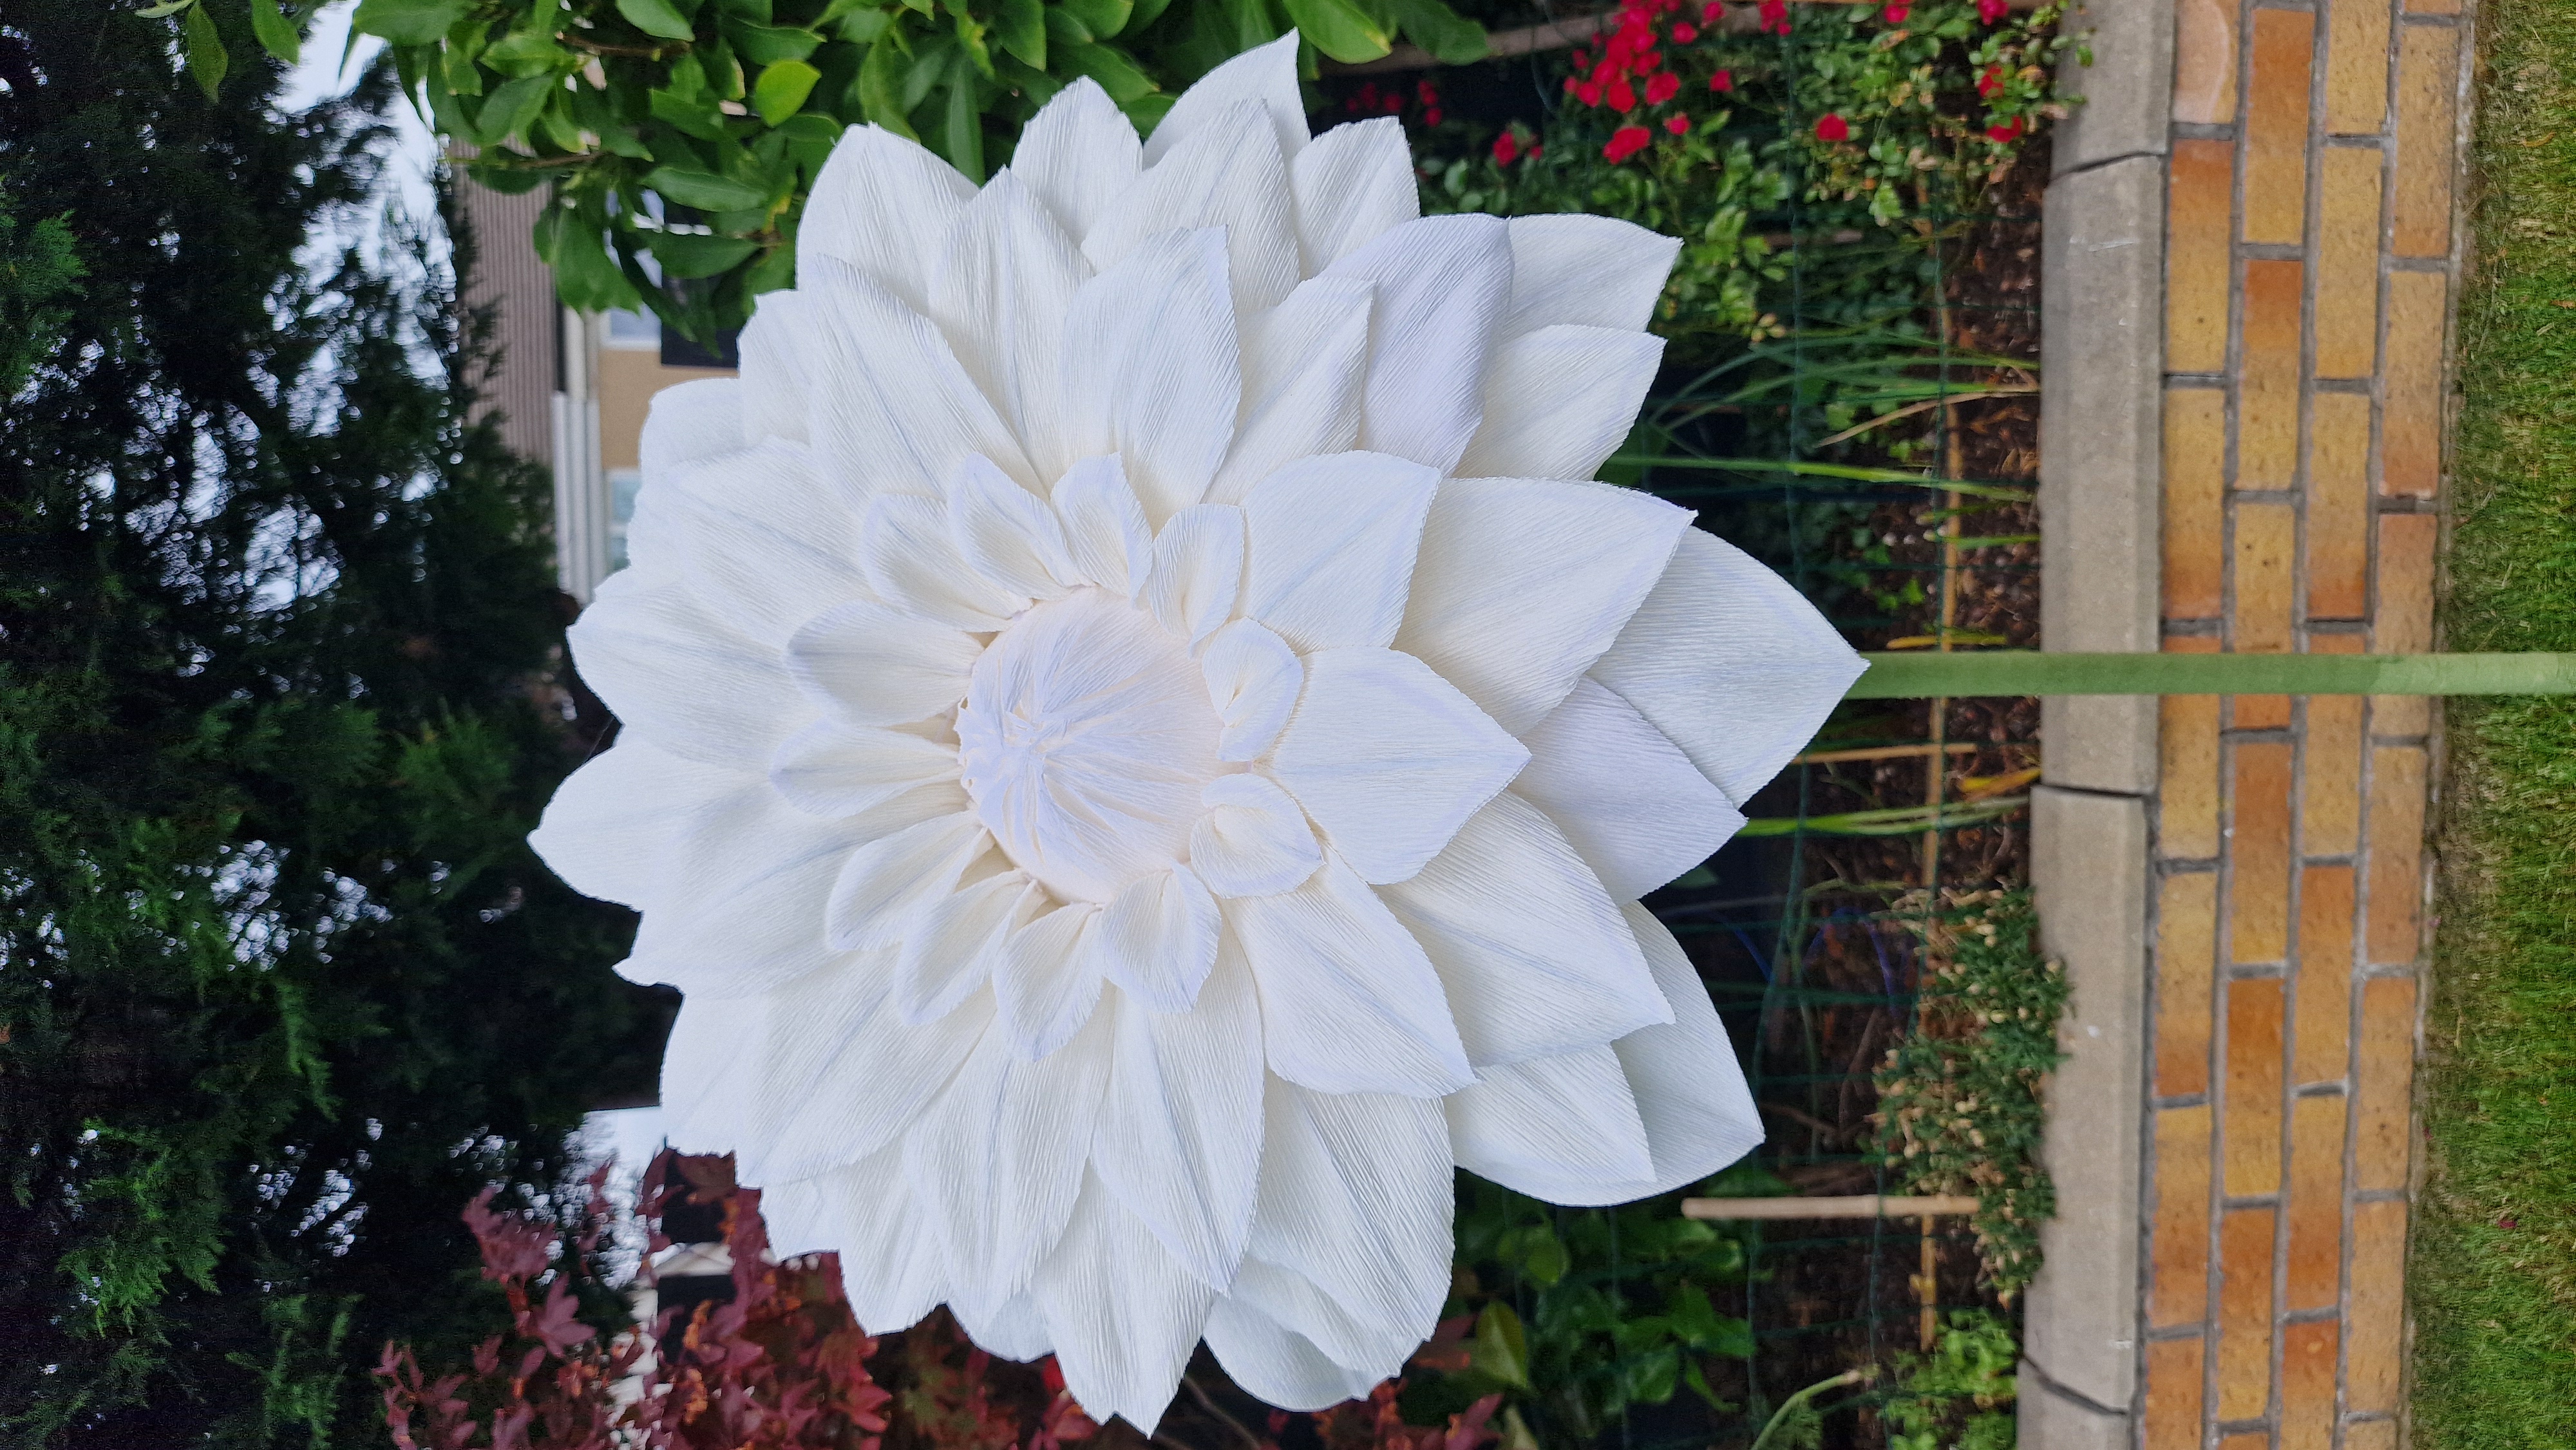
How to Make a Giant Paper Lily of the Valley
- Cat Atmouni
- May 13, 2025
- 5 min read
Updated: Jul 4, 2025
Bring the soft elegance of Lily of the Valley flowers into your handmade creations with this easy-to-use paper flower template! Designed to mimic the delicate, ruffled petals of the real flowers, this digital petal pattern is perfect for crafters, florists, and DIY decorators who want to add a touch of botanical beauty to their projects.

What You'll Need:
My template: https://www.velvetrosedesigns.co.uk/product-page/giant-paper-lily-of-the-valley-template
180g Italian crepe paper white
180g Italian crepe paper yellow
180g Italian crepe paper green
Glue gun
Scissors
Wire cutters
Pliers
Wire for petals (I use white 20guage)
Wire for flower heads (I use hobby wire 18 guage)
Masking tape
PVC pipe (I use Pex-Al-Pex 25mm)
Template available here
Step 1:
Cut 2 strips of white Italian crepe paper 19cm x 13cm.
Stretch both pieces of paper and set one aside for later.
Fold your first piece in half.


Step 2:
Take the small template and lay it on your folded paper. Make sure the cut on fold side is on the folded side of the paper.
Use bulldog clips or paper clips to hold in place.
Cut around your template. DO NOT CUT ALONG THE EDGE AT THE FOLD.
Open your paper up.
Using a hot glue gun, glue a line from the pointed part of the petal, down to the bottom.
Attach one of your white wires.


Step 3:
Attach wire all the way along starting from each petal point.
Take your second strip of paper that you cut earlier and glue along the bottom and attach to the strip with the wire.
Cut off any excess from the edges.


Step 4:
Add glue around the scalloped edges with the wire and stick your top layer down.
Do this bit by bit as the glue dries fast.
Cut around the scalloped edges to remove the excess paper.


Step 5:
Using your wire cutters, cut off the excess wire.
Wrap your strip of paper round so it looks like a crown and glue the two opposite sides together.
Set aside.


Step 6:
Take 1 piece of 18 guage wire and using pliers, create a hook at the top.
Cut a strip of yellow Italian crepe paper 20cm x 6cm.
Fold a couple of times and then with scissors.
Cut from the bottom creating small snips. Don’t cut all the way through the paper, leave about 1cm from the top.


Step 7:
Glue along the bottom of the strip (the bit that is not fringed) and then attach your hooked end of the wire.
Begin wrapping your paper around the wire, making sure you are gluing the bottom as you go.
If you haven’t already, click this link to watch the video as this next bit can be tricky.
Take your petal piece from earlier and add glue all around the bottom. You will need to be quick with this as the glue dries fast.
Take your fringed yellow piece and attach in the centre of the petal piece.


Step 8:
Squeeze your petal petal piece so that both sides of the yellow centre piece, are glued to the white piece.
Gather the rest of the glued bottom area together so that it is squeezed against the yellow piece.
Squeezing the centre together with one hand, use your fist from the other hand to start stretching the centre out.


Step 9:
Mould the petals as you like.
Begin bending the pointed petal tips back little by little. Be careful that the edge of the wire doesn’t poke through the paper.
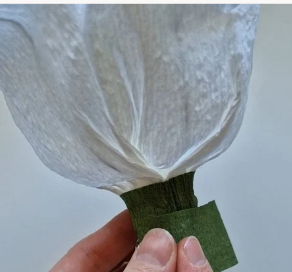
Make a strip of green paper, 5cm x 5cm and stretch.
Glue the top edge and start wrapping the green piece around the bottom end of your flower.


Step 10:
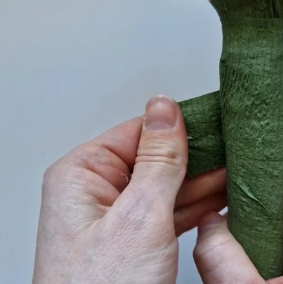
Squeeze the excess green paper against the wire and twist.
ake a strip of green paper 10cm x 2cm and stretch.
Glue to the wire and then start wrapping it round the wire, brining it down as you go.
Wrap about half way down the wire and then cut off the excess. Glue to secure the wrapped wire in place.
Complete all of these steps again, to create a second small flower head.
Step 11:
Complete steps 1 and 2 using the large template when shaping your petals.
Complete to make 4 flower heads. ( You can add more if you like but I have added 4 for this example.)


Step 12:
Cut a strip of green paper 10cm in width and stretch then fold.
Lay your leaf pattern on top and cut around, creating 2 pieces
Take a piece of craft wire and glue to the centre of one of your leaf pieces.


Step 13:
Glue over the wire and then add your second leaf pattern.
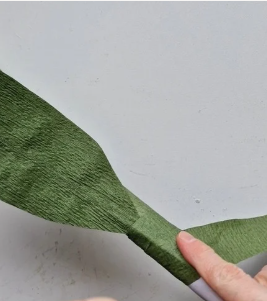
Glue all round the edges of your leaf on both sides.
Bend your leaf to shape.


Step 14:
Cut a piece of pipe ____cm (You can make it smaller or larger if you like.)
Unwind the pipe and shape as desired.
Cut a strip of paper 30cm in width.
From this, cut 3cm strips.
stretch each piece.
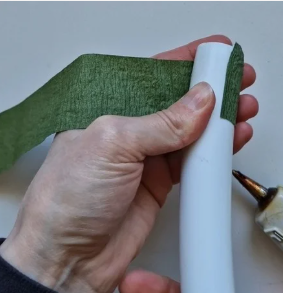
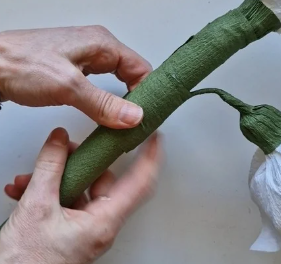
Starting at the top of the pipe, glue the edge of the paper and attach to the pipe.
Start winding the paper around the pipe at an angle so that it starts winding down the pipe.
Stop every so often and glue the paper before sticking to the pipe.
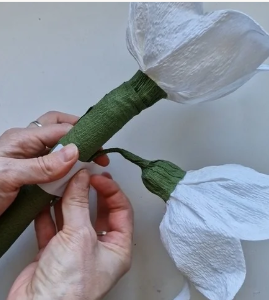
Attach one of your small flower heads to the top of the pipe by gluing round the pipe rim, and popping the flower on top. (The excess wire from the flower head will go inside the pipe but that is ok.
Stretch another piece of 3cm paper and wind it around where the flower head joins the pipe.


Step 15:
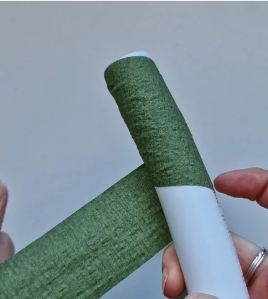
Continue winding down the pipe, only till you can’t the join.
Next take the second small flower and bend the head forward. Using wire cutters, cut off some of the excess wire.
Secure your flower head to the pipe with a piece of masking tape. They with your 3cm strep of green paper again, wrap it tightly round the pipe to cover the masking tape and secure the flower head in place.


Step 16:
Continue this method for the remaining flower heads, spacing each out out as you wish.
Then with your flower leave, do the same as you did with your flower heads by sticking them in place and then wrapping with green paper.
It’s up to you where you’d like to add the leaves, I tend to add then near the bottom. I also like to stagger them so that one sits higher than the other on each side. (You can also add more leaves depending on the style you are going for.
Finally your flowers are made. You can add them to a plant pot, a vase or a base that the pip can slot into.
I’d love to see what you make! If you create your own giant flowers using this tutorial, please tag me on Instagram — @velvet_rosedesigns — so I can admire your beautiful work and share it with our creative community.
A Quick Reminder
This template, booklet, and video tutorial are for personal use only.
You may not:
Sell or redistribute this template or instruction booklet.
Recreate or share the video tutorial in any form.
Use this content for commercial purposes.
Thank you for respecting my work and supporting independent artists. Happy crafting!
— Cat


Comments